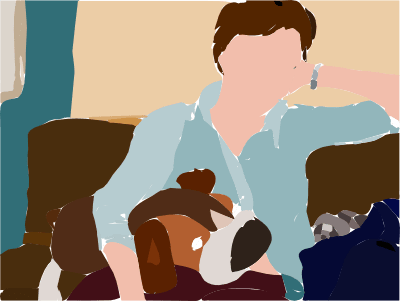
Stages to make this image after the jump.
Sketch basic image in the GIMP (3 pixel circle):

Fill holes (make sure there are solid lines between differently coloured areas):

Colour in image using fill tool:

Create a vector outline from black and white image with no holes (using potrace in InkScape):

Create a vector image from colour image, remove black outlines, and dilate all shapes. I used “autotrace” for this because it does proper colour vectorisation, but I used potrace for the black and white vectorisation because it produces nicer outlines.

Finally, composite the two images (and then change the various fills to gradients for the final image above):

Oh, I also changed the colour of the left wall. I don’t know how it made it so far into the process in the wrong colour!
Hmmm… I never thought that I would say this, but I think the non-gradient image probably looks better! 😛
cute dog! it’s nose is too big for it’s body… awwwww
Awesome!